huvudbild

huvudbild
Showing posts with label SWAP. Show all posts

Sunday, March 29, 2015

Completed: Cordova Jacket from Sewaholic Patterns

I've had this pattern i stash for almost 2 years and never been completely sure that it was for me. So I never touched it. But it has been on my conscience since I HATE buying things and not using them -  it's simply not in line with my style of life. Now I wish I had sewed it sooner because it is AWESOME!! What a cute, light, summery yet stylish jacket this is! Work approved too!

I sewed it in a medium weight linnen (it is light red, NOT pink!!!), added a gold metal zipper and lined it with a bright, happy turquoise fabric. The only adjustments were a small FBA and that I had to reposition the sleeves somewhat. The puffed part were sort of hanging off the shoulders and needed to be moved in a bit. I also moved the sleeves slightly forward to be able to move my arms more freely.

I really recommend this pattern!

/Alexandra

PS. The shirt underneath is another Granville shirt that I'll write about some day soon.


Wednesday, February 18, 2015

Completed: Plantain T-shirt from Deer and Doe

So, I've been sewing again :-)

As a part of my spring SWAP I wanted to sew a color blocked top to go into the work closet. I have read a lot of great reviews of the free pattern from Deer and Doe: Plantain Tee. I have to say I was a little suspicious of the A-line shape, because it is REALLY a-line. I have a fairly narrow waist and sometimes a-line tops look a little too shapeless on me. (I LOVE a-line dresses though).

I did my usual FBA, of course, and then I gathered scraps of fabric I had laying around and started constructing the tee. I did plan to add those elbow patches, because I love elbow patches, but with the color blocking I thought the top became busy enough without them, so they were left out in the end.

This is the finished top. If I would sew it again I would for sure make it less flared, but I still really like the result. In particular the color combo!


Monday, January 5, 2015

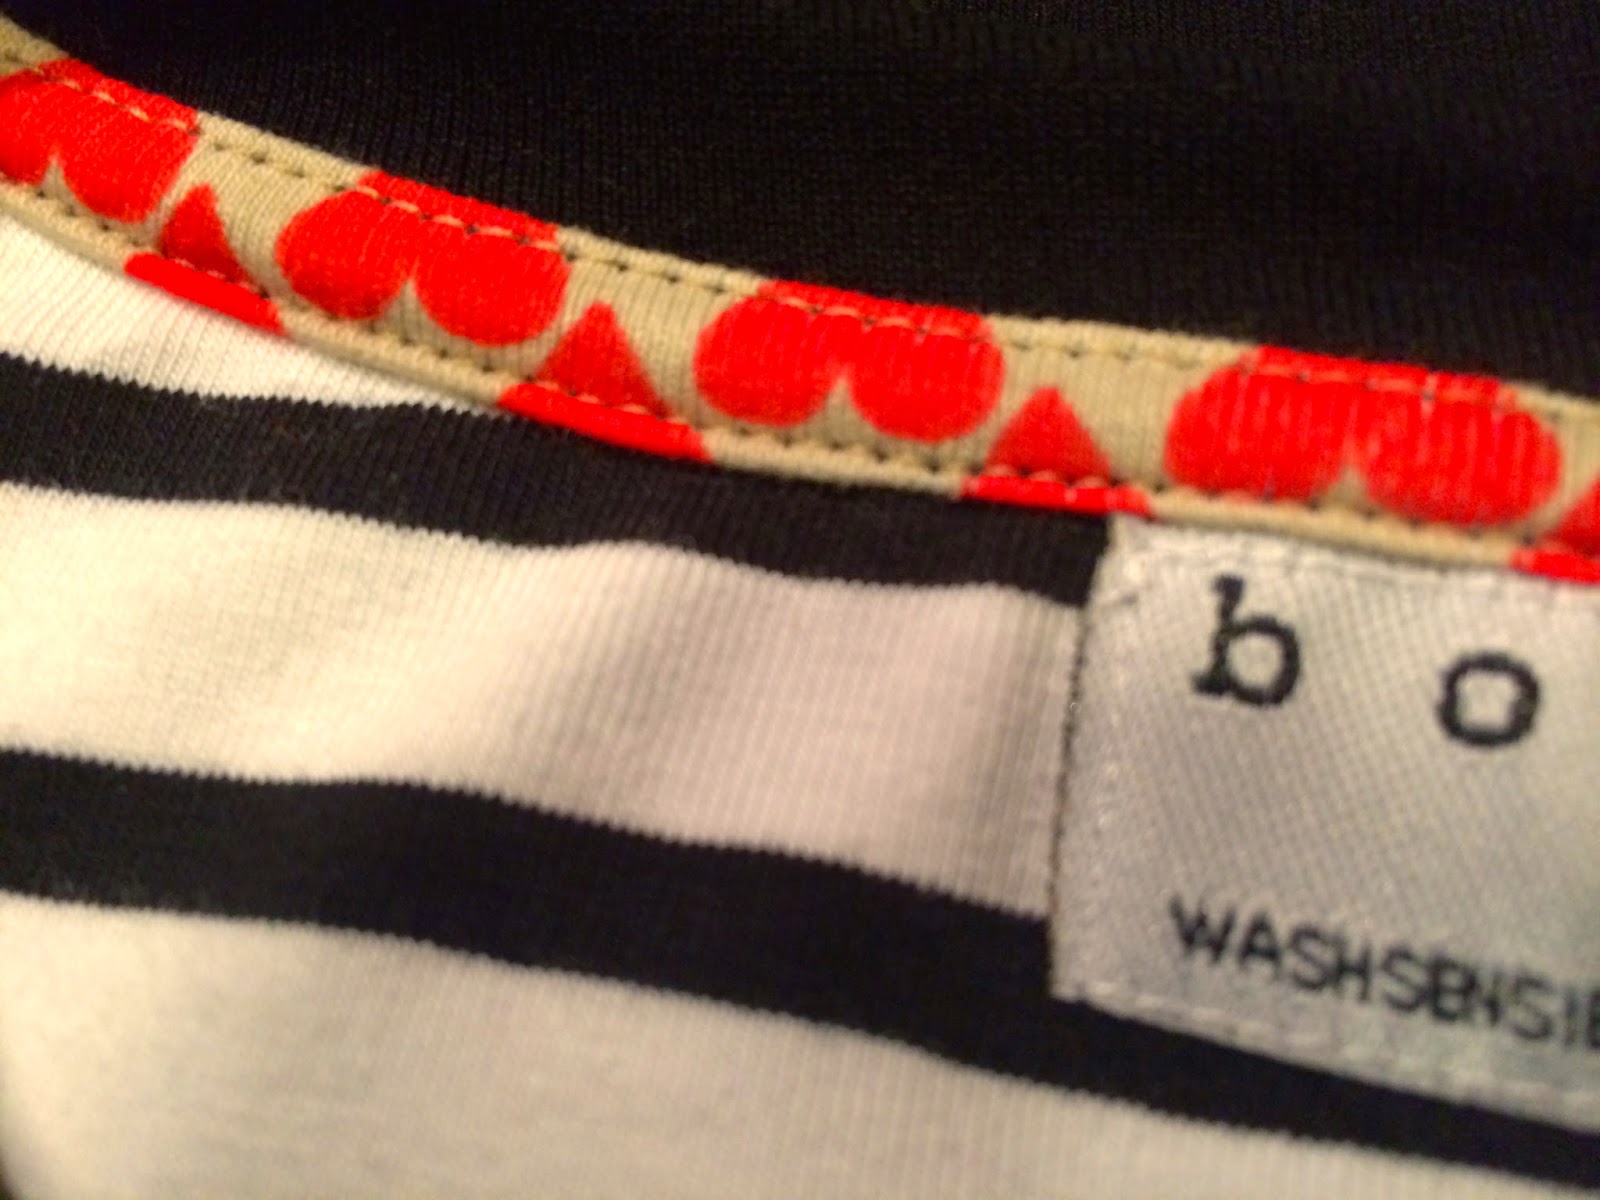
Completed: Glam top + tutorial on pretty details on the inside

So my first top from my spring plan is completed. I actually had already started it before the plan was fully set, but hey. I wanted it to stick out a little in terms of details in comparison to other tees I just knock out in an hour or so. This baby is really worked on, and it think it was worth it.

First I will take you through the tutorial for pretty insides. You know when you buy a top you never see any raw/serged edges when it's on the hanger - ever. Not even for cheapo brands. So why should we settle for anything less when making clothes ourselves?

This is what I did:

1. Cut a piece of contrasting (if you want) fabric with similar amount of stretch as the main fabric, Let the top follow the shape of the neckline on the back piece and the lower part should be a nice rounded shape, slightly below the front piece neckline. If you have trouble shaping the lower part, then trace off a plate or similar. It is important that the shape is even since it will be a sewing guide later on.


2. Serge the lower edge of the contrasting fabric. If you have a name tag, then sew it to the piece as well, about 1'' (2,5cm) below the edge, centre front (only through the inner piece). Pin it to the inside of the back piece, wrong sides together. Sew along the served edge with a long straight stitch. Note - here you must be careful since this line will be seen from the outside. If you are not happy - unpick it and resew it, trust me, it will drive you crazy if this seam is wonky! Join the shoulder seams.


3. Time for the neck line and all the schnazzy trims! Cut a strip, around 4cm wide, and hold it against the shape of the neckline. Stretch A LOT as you go around, to get the right size and to avoid having a neckline that doesn't stay flat later on. When you are all the way around, cut the strip off and join the short edges (right sides together). Fold in half, press and pin.
Pin it to the neckline, stretch more at the front than at the back of the top. NO SEWING YET!

4. Cut another trim, about 1'' wide, choose a fun print if you want - it will not be seen on the outside. Pin it to the back of the neckline so that you sandwich the folded trim in between the new strip and the back piece. Stretch slightly. To clarify: the new strip shall be placed face down on top of the folded trim on the inside of the back piece. Leave about 1cm past the shoulder seams and cut of the rest.


5. Now serge all the way around through all the layers! When you are done it should look like this:
From the inside of the top
From the outside (right side) of the top. The back side that is.
6. Now comes the real fiddely part! The strip shall be folded under the served edge on the inside to encase it completely. This is done in two steps.
First, understitch the trim to the seam allowance only, close to the edge, with a straight stitch.

Then fold under the raw edge and pin. Topstitch the other end of the trim to encase the serged edge. This is where things can go pear shaped! This second line is seen from the outside and it is important that it is on an even distance from the first line or it will look shitty!! I had to redo this step 3 times before I was happy.


Done!!! Ain't that pretty???

7. The last step is to topstitch the seam allowance on the front side. Only go between the shoulder seems. Do this with an elastic straight stitch or with a cover locker. After this you can proceed as normal with setting the sleeves and sewing sides and hems.


Apart from this I actually made some other fun things too. I decided to up cycle some "gold" sparkles from a hideous second hand blouse I had in a bag. I sewed this at the center back, actually before step 3 above.


I also wanted rolled up sleeves. I cut the sleeves extra long, rolled them up and then hand stitched all around from the inside through all the layers except the top one, to keep the rolls securely in place with no visible stitches.

Final product (sorry for poor picture quality - It is difficult to take pictures without help, especially for black items):


Well, again, I won't be receiving prices for best photography anytime soon, but trust me that this garment looks WAY better IRL than shown here :)

/Alexandra

Planning sewing projects for the coming season!

New year, new sewing projects!! This year will be devoted to details! I will not settle for anything less than perfect, and I'll go for all the bits and bobs that you'll ever find in the RTW garments to make them look finished and polished. That's my new years sewing resolution :) What's yours?

This is my plan for spring:


Saturday, May 3, 2014

Completed: Cake Espresso Leggings x2

Since my purchases is highly restricted by the Sew for a Change Challenge, I simply cannot put too many points into buying nylons and stockings. The ones I have now I treasure like inherited jewellery  and I basically only use them at work. But I like to wear skirts casually at home too and I don't like my legs to get cold. The solution? Leggings!!! So much more hard wearing than nylons - and so many options on fun colours too!

The problem was to find the perfect pattern though. And I TOTALLY DID!!! Leggings loving people - look no further! All you need is Espresso Leggings from Cake Patterns!! If you want the perfect, truly customised pattern, then this is the shit! Based on your own measurements you connect the dots to your own perfect pair. I so wish I bought this pattern earlier.

I have made two pairs, so far. Both from fabulous organic jersey from Strömming. The first pair (blue) I made slightly too low rise, which I corrected for the second pair (red).


Friday, May 2, 2014

Completed: Staple Dress x2, incl. tutorial for FBA on cap sleeves

This is my first two Staple Dresses (pattern from April Rhodes), but I am fairly certain I will sew this pattern again. It is simple and quick and the perfect canvas for any busy, crazy woven fabric!

Since my friend Malin has sewn this pattern many times, and I love her dresses, I thought I'd go wild and sew up my first dress without making a muslin. Did I mention I "forgot" to do an FBA? Well, I thought, for some reason, that the simple and generous fit would let me go unaltered, but I was punished. I'll show you soon what I'm on about...

But first I want to show the second one - the one that I truly LOVE! Sewn in a gorgeous, fun print from Liberty of London. The best cotton lawn makers in the whole world.

Relaxed, yet with a lot of shape, and pockets.

The back is nice and flat.

Enough shape, even without a belt, thanks to the shirring.

I added a little lace on the front neckline just to make it a little fancier. I am contemplating letting this dress be worn at a wedding.


And now to the other one, the one without FBA, which a think looks more awful every second I look at it.

Just look at this picture. Obviously, since the pattern is flat, the shirring will add the shape, and if you have boobs on the front, it will create the same amount of boob space on the back! Then it looks like this:
Handy design for people with boobs on both front and back.
And this is not the only problem! See the hemline! Since the boobs lift the fabric up and is not compensated with an FBA, the dress becomes too short in the front. Or to short in my own personal preference, that is. This can and MUST be avoided, people! And now I'll show you how!

FBA on a cap sleeved dress

(For other FBA alterations look at my tutorials here.)


1. Trace the pattern and mark apex and shoulder 

My first dress was a size S on the upper body and a size M on the lower, simply graded in between. The great thing about that is that the whole dress would fit onto 1y of fabric. Because of that Idesperately wanted to avoid my altered pattern to become any larger so that I still would fit it on the fabric :-) So I decided to start my upper FRONT pattern on size XS instead and keep the other parts the same as before.

Trace the pattern and then wear it to mark apex and shoulder line. I put it on my dress form like this:

Pin it to a dress form or to yourself :-)

Mark where the shoulder begins.

Mark the apex.

2. Do the FBA work

Since we have cap sleeves that are part of the front pattern piece we need to cut of the sleeves before the FBA can be done. Draw a line between the shoulder mark you made and the armpit. Then cut it off. Then:

a) Draw a line from the apex mark, parallel with the centre front line, all the way down.
b) Draw a line from the side seam to apex, in the angle you'd like the dart to be tilted.
c) Draw a line from the apex to the lower part of the sleeve.

All the cut lines in read.
 Cut and spread like this. Make sure to not cut all the way through in all places. Look carefully at the picture.

Cut off the sleeve completely


Cut and spread the desired amount.
The desired amount the spread the pattern for me here is to get it to the same width as the size S I used for the back. The alteration will then give me the boob room I need (and the right SHAPE), but still fit together with the rest of the pattern. I put the old sheet on top of it to see how much I need to spread it.


After this it is simply to put new paper into all the gaps and true up the dart legs.

Note!! This will create a dart, which is not part of the original dress design!
Since I use a busy fabric, plus will have shirring at the waist, I don't mind the dart. But if you do, then follow my other tutorial here.

Test wearing the pattern and see the magic you just created!


A lot more shape, and a lot more length in the front!! Yay!

And to really demonstrate that it is making a huge difference, have a look at this...

Without FBA on the top and with FBA on the bottom.

Now, go adjust this for yourself! 

/Alexandra

Saturday, March 29, 2014

Completed: BurdaStyle Pencil Skirt and Colette Sorbetto

I haven't sewn a lot lately, and what I've managed to sew I haven't had time to report... oops!

Well, better late than never so here you go. Both items are part of my spring SWAP.

The Colette Sorbetto is sewn in a plaid double cotton, bound with a (synthetic) bias strip with a slight sheen to it. I thought it may do in a job outfit, but now I'm not so sure. I think it looks a little too casual and perhaps a little too much like kitchen curtains...

The pencil skirt, on the other hand, I LOVE!! I managed to get every little bit to perfect finish, like truly invisible zip, truly invisible hem, just the right length and it fits me like a glove!
After having sewn a couple of items out of the BurdaStyle magazines I need to say that their patterns are really well made. Even though their models are super skinny, they usually fit me quite well with very small alterations (compared to many of the indie patterns that need a lot of work to fit well). I'd like to say I prefer the smaller pattern companies, and I do, but fit wise Burda rocks (and I am NOT super skinny by any means).

Here they are together:


By this, my spring SWAP is finished. The planning of my summer SWAP is on!! I think my summer plan will contain at least one remake item. Last summer I sewed up 2 Daisy dresses (during a sew along) from Eliza M's Vintage Patterns, and I didn't know about FBA att the time which made for really poor fit around the bust. Now that I do those bust alterations in my sleep I kind of want to rescue those dresses and make them fit well. I have plenty of the fabric left so I think I'll keep the (full circle) skirts and make new bodices. Or I may make one of them into a skirt and chop of the bodice.

I also want to make a cute summer dress to be worn at my friend's wedding, and I have made a wearable muslin in another BurdaStyle pattern (not hemmed yet as you can see if you really eye ball it) in a summery, crazy, vintage fabric. The dress turned out fine, but I don't think it is what I was looking for so I'm not making that again for the wedding. I might make a "little black dress" out of this pattern later, though.


Other items for the summer may include another Wardrobe Basic for work, in some nice nude suiting, maybe leggings and also, I'd love some navy Colette Iris shorts and a polka dot tie blouse in some sheer fabric. Oh, the joy of dreaming up sewing projects!

Have a nice weekend!
/Alexandra

Friday, January 17, 2014

Completed: The Wardrobe Basic. Including tutorial for FBA on shoulder dart

The first garment of my spring SWAP is done; the "Wardrobe Basic" from Ottobre. Can I just say, what a quick, cute and usable pattern!! Or actually, not quick at all if you count more than 1,5 h of hand sewing to get invisible hems and facings. If you like topstitching it will indeed be very quick, but I love neat finishings and pretty insides of garments.

I think the pattern of the fabric turned out fun!

Inside trimmings. The bias tape has GOLD stripes!!!

Matching pattern on the sleeve too.

And the back. Nice fit, don't you think?

I LOVE pretty insides!

I love how it turned out. I did make some alterations, without making any muslin, but I just had a feeling it was going to turn out the way I wanted anyway. Luckily it did - phew! I am pretty certain I'm gonna use this pattern again. Imagine this as a summer jacket made from dark denim!! Want!

The fabric was a vintage scrap designed by Maud Fredin Fredholm. The pattern was quite intricate so it took me a while to decide how to put the pattern pieces so it wouldn't turn out too crazy. The leftovers will be enough for a couple beanies, an infinity scarf or some other accessory.

Sorry for not showing any live pictures, but I have a pajama-day with sick kids at home. Didn't feel like posing...


So, what alterations did I make?

#1 - FBA (Full bust adjustment)

I ALWAYS do an FBA these days. There is really no reason not to since it makes a world of difference to the fit. Don't be a lazy fart when it comes to FBA - it is always worth the effort, trust me!

This pattern already has a dart in the shoulder on the front, and I believe alterations like FBA should not have to change the design of the pattern. So, therefore, after having done the FBA you move the dart into the dart you already have on the shoulder. I thought I'd show you how it's done, but since I forgot to take pictures during the process and I don't have time to redo it, I'll give you a quick and dirty drawing tutorial instead :-)


Mark the regular FBA lines (blue) and slash the pattern. For more details on the basics go here. Spread the pattern your desired amount. Then it will look like this:


Tape in paper everywhere except in the new bust dart, which remains open. That is, within the blue dotted area:


Now, we don't want a bust dart because that alters the design of the garment, remember, so we need to move it! To do this we slash from the shoulder dart down to the point of the bust dart - but not all the way through! See red line:


Then we close the bust dart by pivoting the paper like shown by the arrow. Tape the dart closed and notice the shoulder dart wide opened. Continue drawing the shoulder dart legs until they meet (and make sure they are equal length) and there you have your new dart.


Tape in paper to fill the gap - voila! The green shape is the new pattern.


#2 - Reshaping the front panel

Since I knew I don't want to wear this cardigan closed I prefer the shape at the front to be more rounded. I simply shaved off a slice from the front pattern and did the same to the facing.


Hope this was helpful!

/Alexandra