Since my purchases is highly restricted by the Sew for a Change Challenge, I simply cannot put too many points into buying nylons and stockings. The ones I have now I treasure like inherited jewellery and I basically only use them at work. But I like to wear skirts casually at home too and I don't like my legs to get cold. The solution? Leggings!!! So much more hard wearing than nylons - and so many options on fun colours too!
The problem was to find the perfect pattern though. And I TOTALLY DID!!! Leggings loving people - look no further! All you need is Espresso Leggings from Cake Patterns!! If you want the perfect, truly customised pattern, then this is the shit! Based on your own measurements you connect the dots to your own perfect pair. I so wish I bought this pattern earlier.
I have made two pairs, so far. Both from fabulous organic jersey from Strömming. The first pair (blue) I made slightly too low rise, which I corrected for the second pair (red).
huvudbild
Showing posts with label Review. Show all posts
Saturday, May 3, 2014
Friday, May 2, 2014
Completed: Staple Dress x2, incl. tutorial for FBA on cap sleeves
This is my first two Staple Dresses (pattern from April Rhodes), but I am fairly certain I will sew this pattern again. It is simple and quick and the perfect canvas for any busy, crazy woven fabric!
Since my friend Malin has sewn this pattern many times, and I love her dresses, I thought I'd go wild and sew up my first dress without making a muslin. Did I mention I "forgot" to do an FBA? Well, I thought, for some reason, that the simple and generous fit would let me go unaltered, but I was punished. I'll show you soon what I'm on about...
But first I want to show the second one - the one that I truly LOVE! Sewn in a gorgeous, fun print from Liberty of London. The best cotton lawn makers in the whole world.
I added a little lace on the front neckline just to make it a little fancier. I am contemplating letting this dress be worn at a wedding.
And now to the other one, the one without FBA, which a think looks more awful every second I look at it.
Just look at this picture. Obviously, since the pattern is flat, the shirring will add the shape, and if you have boobs on the front, it will create the same amount of boob space on the back! Then it looks like this:
And this is not the only problem! See the hemline! Since the boobs lift the fabric up and is not compensated with an FBA, the dress becomes too short in the front. Or to short in my own personal preference, that is. This can and MUST be avoided, people! And now I'll show you how!
Cut and spread like this. Make sure to not cut all the way through in all places. Look carefully at the picture.
After this it is simply to put new paper into all the gaps and true up the dart legs.
Note!! This will create a dart, which is not part of the original dress design!
Since I use a busy fabric, plus will have shirring at the waist, I don't mind the dart. But if you do, then follow my other tutorial here.
Test wearing the pattern and see the magic you just created!
A lot more shape, and a lot more length in the front!! Yay!
And to really demonstrate that it is making a huge difference, have a look at this...
Since my friend Malin has sewn this pattern many times, and I love her dresses, I thought I'd go wild and sew up my first dress without making a muslin. Did I mention I "forgot" to do an FBA? Well, I thought, for some reason, that the simple and generous fit would let me go unaltered, but I was punished. I'll show you soon what I'm on about...
But first I want to show the second one - the one that I truly LOVE! Sewn in a gorgeous, fun print from Liberty of London. The best cotton lawn makers in the whole world.
![]() |
| Relaxed, yet with a lot of shape, and pockets. |
![]() |
| The back is nice and flat. |
![]() |
| Enough shape, even without a belt, thanks to the shirring. |
I added a little lace on the front neckline just to make it a little fancier. I am contemplating letting this dress be worn at a wedding.
And now to the other one, the one without FBA, which a think looks more awful every second I look at it.
Just look at this picture. Obviously, since the pattern is flat, the shirring will add the shape, and if you have boobs on the front, it will create the same amount of boob space on the back! Then it looks like this:
![]() |
| Handy design for people with boobs on both front and back. |
FBA on a cap sleeved dress
(For other FBA alterations look at my tutorials here.)
1. Trace the pattern and mark apex and shoulder
My first dress was a size S on the upper body and a size M on the lower, simply graded in between. The great thing about that is that the whole dress would fit onto 1y of fabric. Because of that Idesperately wanted to avoid my altered pattern to become any larger so that I still would fit it on the fabric :-) So I decided to start my upper FRONT pattern on size XS instead and keep the other parts the same as before.
Trace the pattern and then wear it to mark apex and shoulder line. I put it on my dress form like this:
![]() |
| Pin it to a dress form or to yourself :-) |
![]() |
| Mark where the shoulder begins. |
![]() |
| Mark the apex. |
2. Do the FBA work
Since we have cap sleeves that are part of the front pattern piece we need to cut of the sleeves before the FBA can be done. Draw a line between the shoulder mark you made and the armpit. Then cut it off. Then:
a) Draw a line from the apex mark, parallel with the centre front line, all the way down.
b) Draw a line from the side seam to apex, in the angle you'd like the dart to be tilted.
c) Draw a line from the apex to the lower part of the sleeve.
![]() |
| All the cut lines in read. |
![]() |
| Cut off the sleeve completely |
![]() |
| Cut and spread the desired amount. |
The desired amount the spread the pattern for me here is to get it to the same width as the size S I used for the back. The alteration will then give me the boob room I need (and the right SHAPE), but still fit together with the rest of the pattern. I put the old sheet on top of it to see how much I need to spread it.
After this it is simply to put new paper into all the gaps and true up the dart legs.
Note!! This will create a dart, which is not part of the original dress design!
Since I use a busy fabric, plus will have shirring at the waist, I don't mind the dart. But if you do, then follow my other tutorial here.
Test wearing the pattern and see the magic you just created!
A lot more shape, and a lot more length in the front!! Yay!
And to really demonstrate that it is making a huge difference, have a look at this...
![]() |
| Without FBA on the top and with FBA on the bottom. |
Now, go adjust this for yourself!
/Alexandra
Etiketter:
FBA,
Review,
Slow fashion,
Staple Dress,
SWAP,
Tutorial
Friday, January 17, 2014
Completed: The Wardrobe Basic. Including tutorial for FBA on shoulder dart
The first garment of my spring SWAP is done; the "Wardrobe Basic" from Ottobre. Can I just say, what a quick, cute and usable pattern!! Or actually, not quick at all if you count more than 1,5 h of hand sewing to get invisible hems and facings. If you like topstitching it will indeed be very quick, but I love neat finishings and pretty insides of garments.
I love how it turned out. I did make some alterations, without making any muslin, but I just had a feeling it was going to turn out the way I wanted anyway. Luckily it did - phew! I am pretty certain I'm gonna use this pattern again. Imagine this as a summer jacket made from dark denim!! Want!
The fabric was a vintage scrap designed by Maud Fredin Fredholm. The pattern was quite intricate so it took me a while to decide how to put the pattern pieces so it wouldn't turn out too crazy. The leftovers will be enough for a couple beanies, an infinity scarf or some other accessory.
Sorry for not showing any live pictures, but I have a pajama-day with sick kids at home. Didn't feel like posing...
So, what alterations did I make?
This pattern already has a dart in the shoulder on the front, and I believe alterations like FBA should not have to change the design of the pattern. So, therefore, after having done the FBA you move the dart into the dart you already have on the shoulder. I thought I'd show you how it's done, but since I forgot to take pictures during the process and I don't have time to redo it, I'll give you a quick and dirty drawing tutorial instead :-)
Mark the regular FBA lines (blue) and slash the pattern. For more details on the basics go here. Spread the pattern your desired amount. Then it will look like this:
Tape in paper everywhere except in the new bust dart, which remains open. That is, within the blue dotted area:
Now, we don't want a bust dart because that alters the design of the garment, remember, so we need to move it! To do this we slash from the shoulder dart down to the point of the bust dart - but not all the way through! See red line:
Then we close the bust dart by pivoting the paper like shown by the arrow. Tape the dart closed and notice the shoulder dart wide opened. Continue drawing the shoulder dart legs until they meet (and make sure they are equal length) and there you have your new dart.
Tape in paper to fill the gap - voila! The green shape is the new pattern.
![]() |
| I think the pattern of the fabric turned out fun! |
![]() |
| Inside trimmings. The bias tape has GOLD stripes!!! |
![]() |
| Matching pattern on the sleeve too. |
![]() |
| And the back. Nice fit, don't you think? |
![]() |
| I LOVE pretty insides! |
I love how it turned out. I did make some alterations, without making any muslin, but I just had a feeling it was going to turn out the way I wanted anyway. Luckily it did - phew! I am pretty certain I'm gonna use this pattern again. Imagine this as a summer jacket made from dark denim!! Want!
The fabric was a vintage scrap designed by Maud Fredin Fredholm. The pattern was quite intricate so it took me a while to decide how to put the pattern pieces so it wouldn't turn out too crazy. The leftovers will be enough for a couple beanies, an infinity scarf or some other accessory.
Sorry for not showing any live pictures, but I have a pajama-day with sick kids at home. Didn't feel like posing...
So, what alterations did I make?
#1 - FBA (Full bust adjustment)
I ALWAYS do an FBA these days. There is really no reason not to since it makes a world of difference to the fit. Don't be a lazy fart when it comes to FBA - it is always worth the effort, trust me!This pattern already has a dart in the shoulder on the front, and I believe alterations like FBA should not have to change the design of the pattern. So, therefore, after having done the FBA you move the dart into the dart you already have on the shoulder. I thought I'd show you how it's done, but since I forgot to take pictures during the process and I don't have time to redo it, I'll give you a quick and dirty drawing tutorial instead :-)
Mark the regular FBA lines (blue) and slash the pattern. For more details on the basics go here. Spread the pattern your desired amount. Then it will look like this:
Tape in paper everywhere except in the new bust dart, which remains open. That is, within the blue dotted area:
Now, we don't want a bust dart because that alters the design of the garment, remember, so we need to move it! To do this we slash from the shoulder dart down to the point of the bust dart - but not all the way through! See red line:
Then we close the bust dart by pivoting the paper like shown by the arrow. Tape the dart closed and notice the shoulder dart wide opened. Continue drawing the shoulder dart legs until they meet (and make sure they are equal length) and there you have your new dart.
Tape in paper to fill the gap - voila! The green shape is the new pattern.
#2 - Reshaping the front panel
Since I knew I don't want to wear this cardigan closed I prefer the shape at the front to be more rounded. I simply shaved off a slice from the front pattern and did the same to the facing.
Hope this was helpful!
/Alexandra
Saturday, December 28, 2013
One bat wing blouse for mama and some pants for kiddo
A couple of days ago I whipped up a blouse from a BurdaStyle Pattern, #128 12/2013. A basic pattern with batwing cut. I made it from rayon chiffong, so it feels a little fancy despite the simple design. This is my husbands favourite of all the tops I've made - ironic since it took me a fraction of the time I've put down on others. It is incredibly comfortable to wear and I will definitely use this pattern again!
This blouse will have to replace one of the other blouses from the winter SWAP.
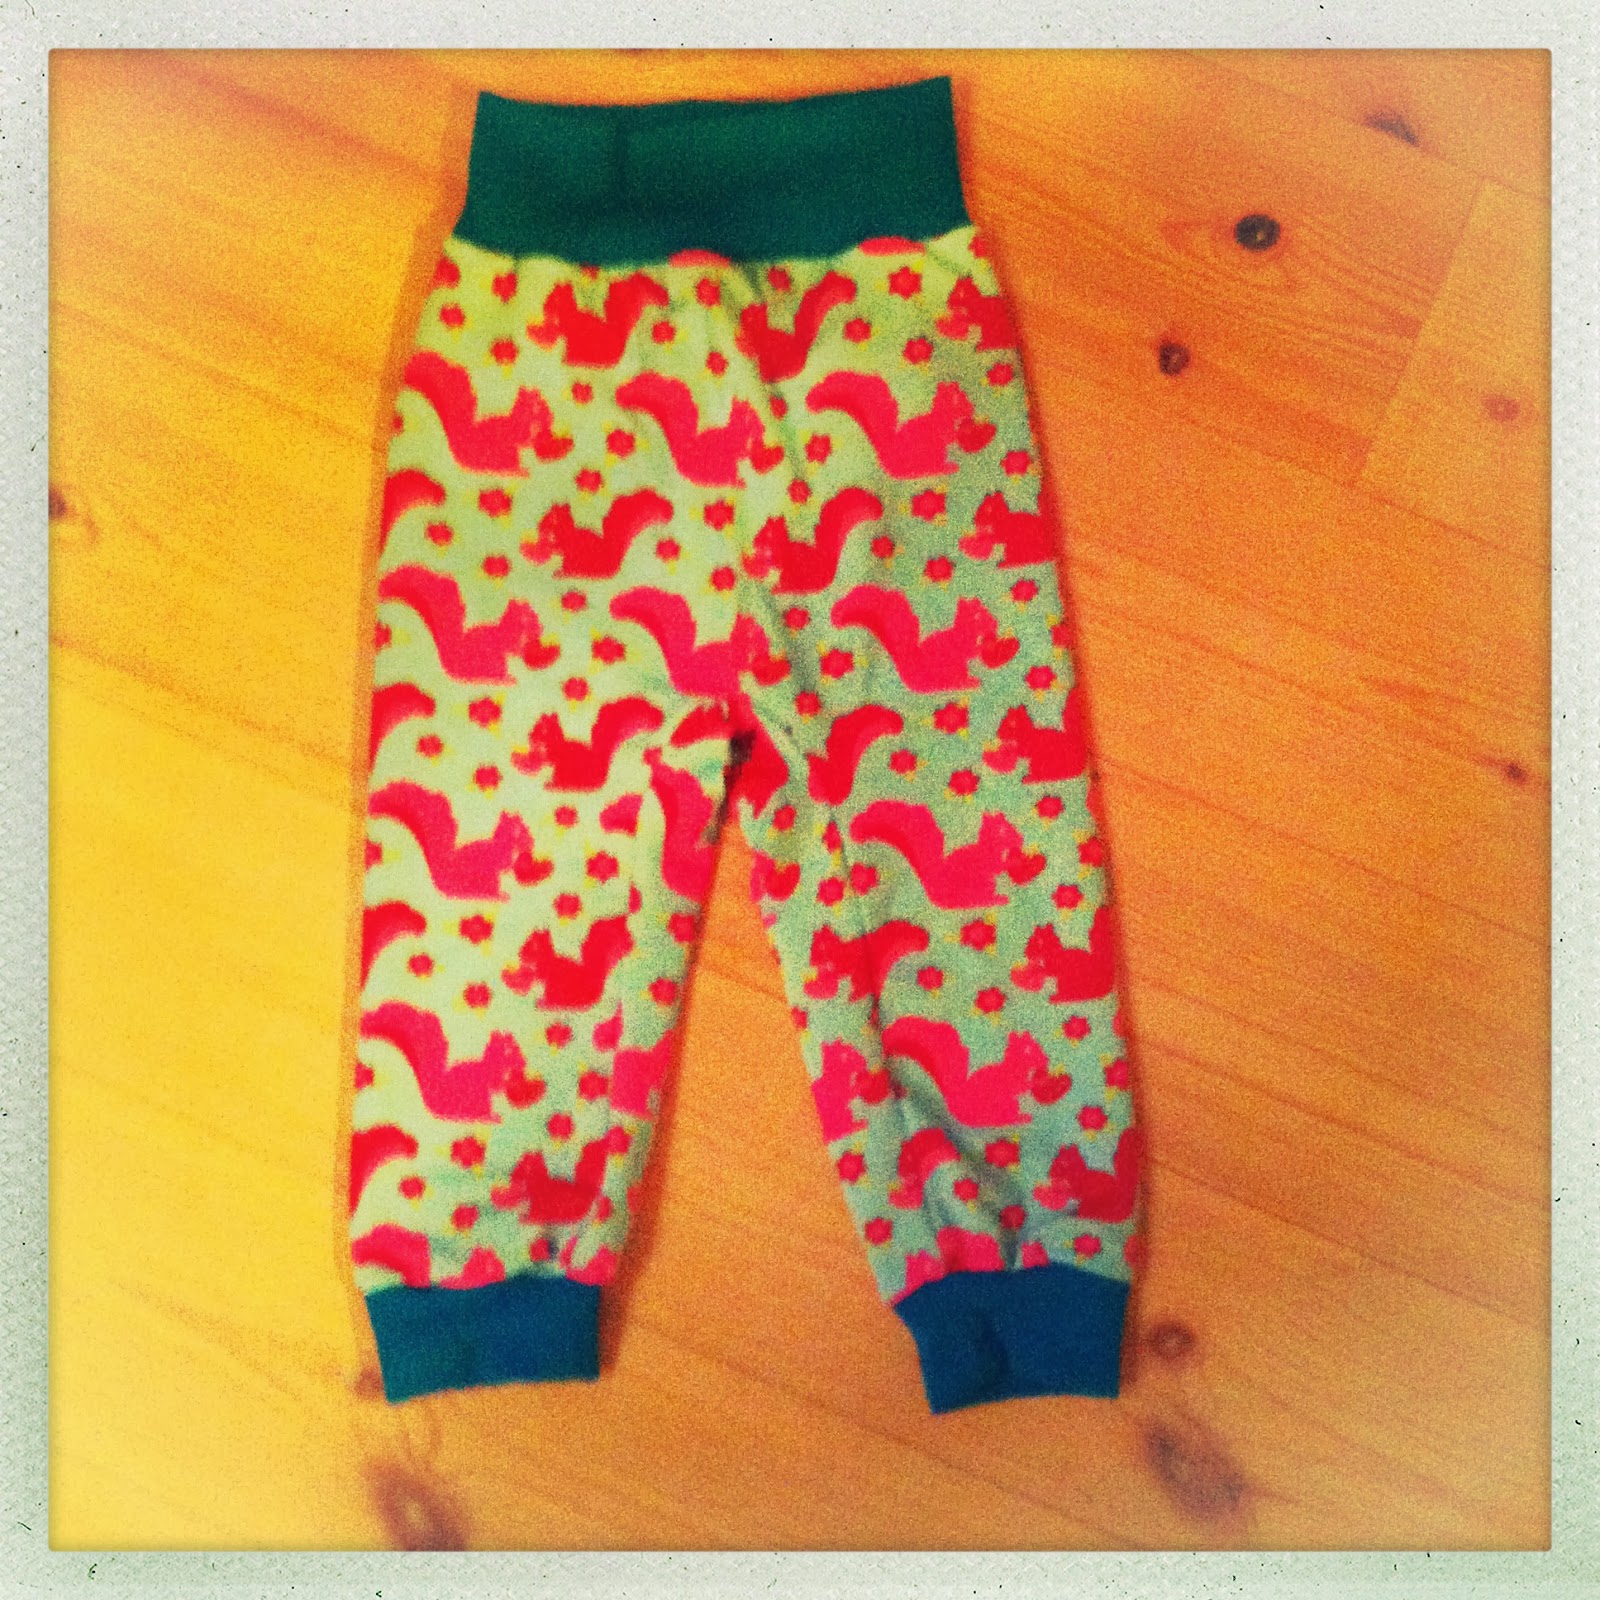
Tomorrow we're off for a family skiing holiday in the Swedish mountains and today is all about packing! Then I discovered that the baby has grown out of her pants again - so I quickly had to make a couple of new ones! The green pair is an Ottobre pattern "summer sea" but I didn't like it very much, so for the next pair I freestyled my own pattern. Both made from organic jersey. Cute prints but I can't help but think that small patterned pants look an awful lot like PJ's, but hey.
Happy new year to all of you!!!
/Alexandra
This blouse will have to replace one of the other blouses from the winter SWAP.
Tomorrow we're off for a family skiing holiday in the Swedish mountains and today is all about packing! Then I discovered that the baby has grown out of her pants again - so I quickly had to make a couple of new ones! The green pair is an Ottobre pattern "summer sea" but I didn't like it very much, so for the next pair I freestyled my own pattern. Both made from organic jersey. Cute prints but I can't help but think that small patterned pants look an awful lot like PJ's, but hey.
Happy new year to all of you!!!
/Alexandra
Etiketter:
Burda Style,
Kids clothes,
Review,
Sewing,
Slow fashion
Wednesday, December 11, 2013
2nd pair of Thurlows finished
It took a while but finally I'm done.
I really wanted this pattern to be my perfect pair of pants, but sadly I don't like them all that much. Not even after this 2:nd pair that I actually don't have much to complain about. I can't put my finger on what it is... I guess I just don't feel fashionable. They are a little dated in some way, even if they are meant to flirt with the old school, retro pant kind of thing.
Judge for yourselves (and as always AWESOME photography by me... haha).
I do like the single welt pockets though (as opposed to the double welts the pattern suggests). I'm happy with the belt loop X too - I think it adds some casual flare to them.
On a positive note, one thing I learned is that the BBA (Big Butt Adjustment) was a great way to add booty room for extra junk in da trunk. I blogged about that here.
What's next now? I am actually working on some xmas gifts and since some people MAY be lurking the blog I better not tell just yet. But in regards of the SWAP I have just finished the 2nd garment of my winter plan and hope to finish Hazel Dress shortly. Looking forward to it!
/Alexandra
I really wanted this pattern to be my perfect pair of pants, but sadly I don't like them all that much. Not even after this 2:nd pair that I actually don't have much to complain about. I can't put my finger on what it is... I guess I just don't feel fashionable. They are a little dated in some way, even if they are meant to flirt with the old school, retro pant kind of thing.
Judge for yourselves (and as always AWESOME photography by me... haha).
I do like the single welt pockets though (as opposed to the double welts the pattern suggests). I'm happy with the belt loop X too - I think it adds some casual flare to them.
On a positive note, one thing I learned is that the BBA (Big Butt Adjustment) was a great way to add booty room for extra junk in da trunk. I blogged about that here.
What's next now? I am actually working on some xmas gifts and since some people MAY be lurking the blog I better not tell just yet. But in regards of the SWAP I have just finished the 2nd garment of my winter plan and hope to finish Hazel Dress shortly. Looking forward to it!
/Alexandra
Monday, November 25, 2013
Back from holiday and a Badger sunscreen review
Back from a week in the sun. It was amazing and very relaxing. I managed to stay completely offline all week and it was a nice change, although it's good to be back.
Before we went, I did lots of research on sunscreens and settled for Badger. Here comes my review.
We used it mainly on the kids and I am happy to say it really did a good job protecting from the sun. I know that for a fact because the kids spent about 7h/day in the pool and we only put it on twice/day. They got tanned but not burned. I did forget to put it on their ears though - and their poor ears got FRIED! Sorry girls. I have only been a mom for a little more than 9 years now so cut me some slack ;-)
Any cons? Yes. It is extremely drying. The girls have never had issues with dry skin, but now I had to grease them up a lot in the evenings with coconut oil. As for myself. I used Badger on my face and my already dry skin went bananas. I don't know if it is the zink that is super drying, because all the other ingredients shouldn't be? Does anyone know? I think I need to find something less drying for myself or I'll have to smear butter on my face for weeks.
Now that I'm back with my sewing machines I'll continue to work at my winter SWAP. A post about Big Butt Adjustment on Thurlow Pants coming up.
x
Before we went, I did lots of research on sunscreens and settled for Badger. Here comes my review.
We used it mainly on the kids and I am happy to say it really did a good job protecting from the sun. I know that for a fact because the kids spent about 7h/day in the pool and we only put it on twice/day. They got tanned but not burned. I did forget to put it on their ears though - and their poor ears got FRIED! Sorry girls. I have only been a mom for a little more than 9 years now so cut me some slack ;-)
Any cons? Yes. It is extremely drying. The girls have never had issues with dry skin, but now I had to grease them up a lot in the evenings with coconut oil. As for myself. I used Badger on my face and my already dry skin went bananas. I don't know if it is the zink that is super drying, because all the other ingredients shouldn't be? Does anyone know? I think I need to find something less drying for myself or I'll have to smear butter on my face for weeks.
Now that I'm back with my sewing machines I'll continue to work at my winter SWAP. A post about Big Butt Adjustment on Thurlow Pants coming up.
x
Subscribe to:
Posts (Atom)