Showing posts with label Tutorial. Show all posts

Monday, January 5, 2015

Completed: Glam top + tutorial on pretty details on the inside

So my first top from my spring plan is completed. I actually had already started it before the plan was fully set, but hey. I wanted it to stick out a little in terms of details in comparison to other tees I just knock out in an hour or so. This baby is really worked on, and it think it was worth it.

First I will take you through the tutorial for pretty insides. You know when you buy a top you never see any raw/serged edges when it's on the hanger - ever. Not even for cheapo brands. So why should we settle for anything less when making clothes ourselves?

This is what I did:

1. Cut a piece of contrasting (if you want) fabric with similar amount of stretch as the main fabric, Let the top follow the shape of the neckline on the back piece and the lower part should be a nice rounded shape, slightly below the front piece neckline. If you have trouble shaping the lower part, then trace off a plate or similar. It is important that the shape is even since it will be a sewing guide later on.


2. Serge the lower edge of the contrasting fabric. If you have a name tag, then sew it to the piece as well, about 1'' (2,5cm) below the edge, centre front (only through the inner piece). Pin it to the inside of the back piece, wrong sides together. Sew along the served edge with a long straight stitch. Note - here you must be careful since this line will be seen from the outside. If you are not happy - unpick it and resew it, trust me, it will drive you crazy if this seam is wonky! Join the shoulder seams.


3. Time for the neck line and all the schnazzy trims! Cut a strip, around 4cm wide, and hold it against the shape of the neckline. Stretch A LOT as you go around, to get the right size and to avoid having a neckline that doesn't stay flat later on. When you are all the way around, cut the strip off and join the short edges (right sides together). Fold in half, press and pin.
Pin it to the neckline, stretch more at the front than at the back of the top. NO SEWING YET!

4. Cut another trim, about 1'' wide, choose a fun print if you want - it will not be seen on the outside. Pin it to the back of the neckline so that you sandwich the folded trim in between the new strip and the back piece. Stretch slightly. To clarify: the new strip shall be placed face down on top of the folded trim on the inside of the back piece. Leave about 1cm past the shoulder seams and cut of the rest.


5. Now serge all the way around through all the layers! When you are done it should look like this:
From the inside of the top
From the outside (right side) of the top. The back side that is.
6. Now comes the real fiddely part! The strip shall be folded under the served edge on the inside to encase it completely. This is done in two steps.
First, understitch the trim to the seam allowance only, close to the edge, with a straight stitch.

Then fold under the raw edge and pin. Topstitch the other end of the trim to encase the serged edge. This is where things can go pear shaped! This second line is seen from the outside and it is important that it is on an even distance from the first line or it will look shitty!! I had to redo this step 3 times before I was happy.

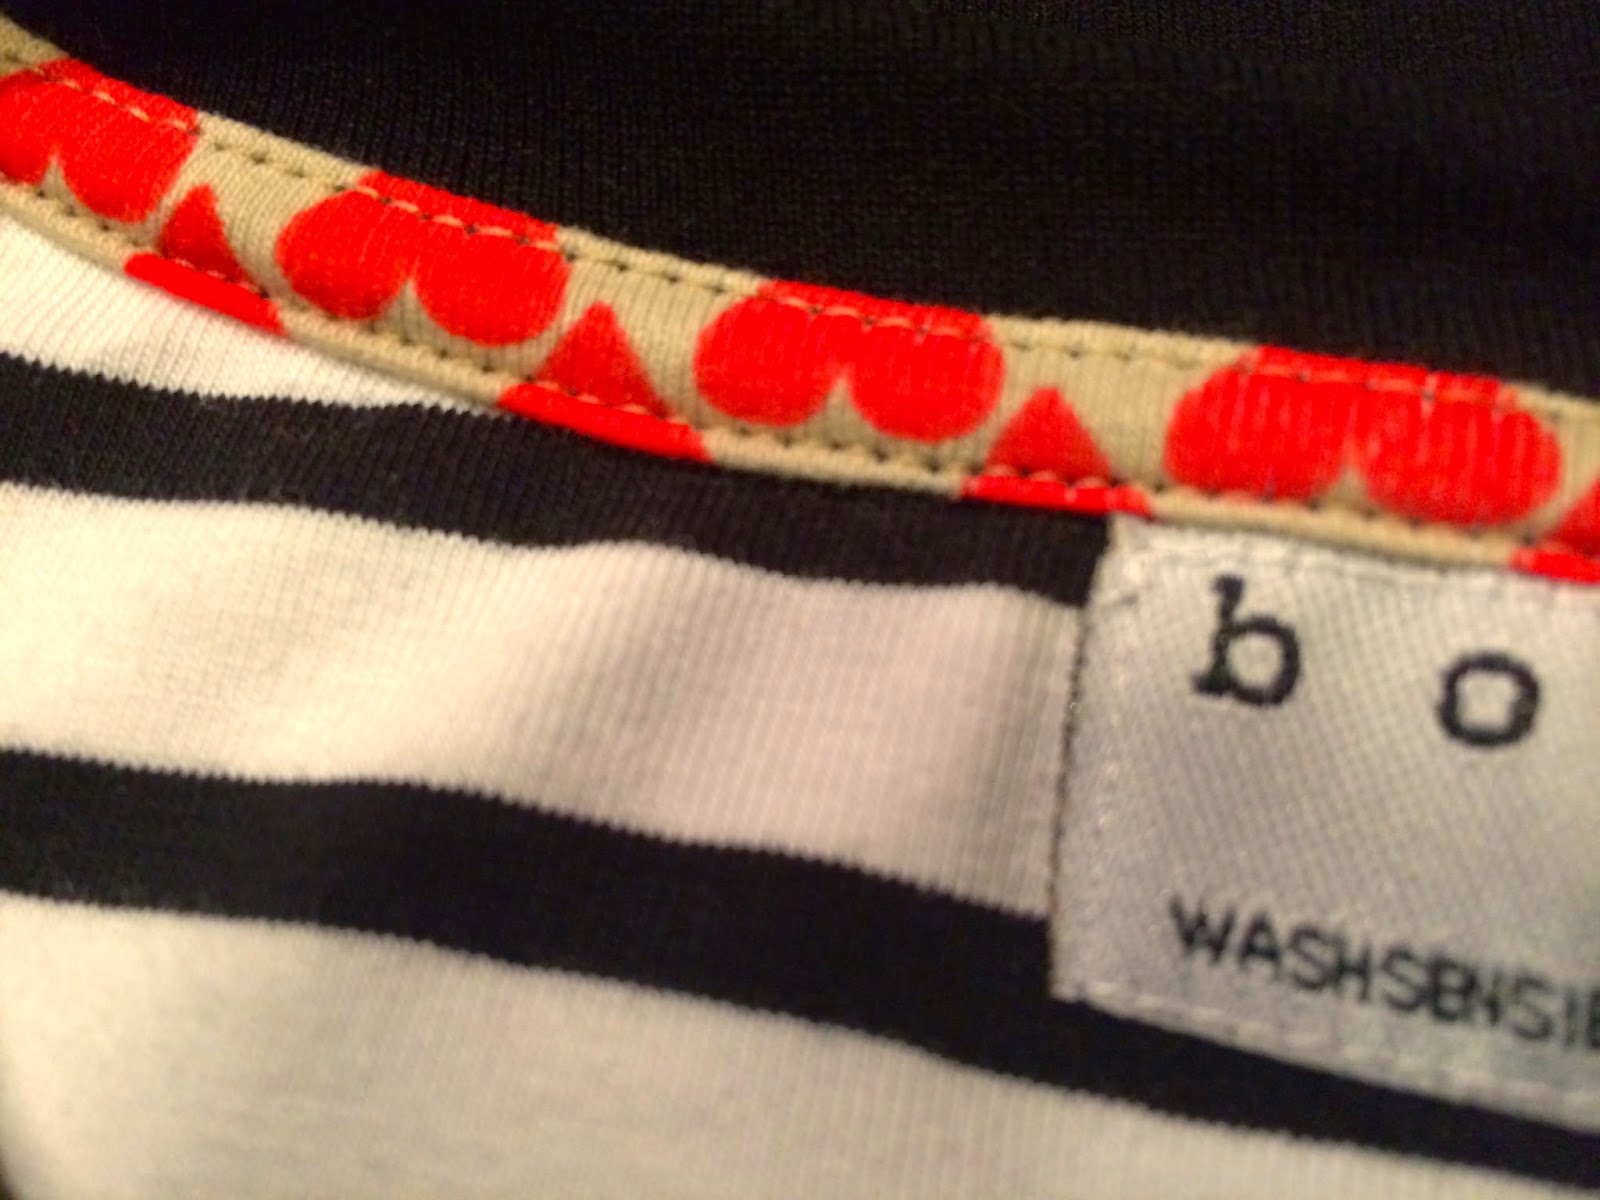
Done!!! Ain't that pretty???

7. The last step is to topstitch the seam allowance on the front side. Only go between the shoulder seems. Do this with an elastic straight stitch or with a cover locker. After this you can proceed as normal with setting the sleeves and sewing sides and hems.


Apart from this I actually made some other fun things too. I decided to up cycle some "gold" sparkles from a hideous second hand blouse I had in a bag. I sewed this at the center back, actually before step 3 above.


I also wanted rolled up sleeves. I cut the sleeves extra long, rolled them up and then hand stitched all around from the inside through all the layers except the top one, to keep the rolls securely in place with no visible stitches.

Final product (sorry for poor picture quality - It is difficult to take pictures without help, especially for black items):


Well, again, I won't be receiving prices for best photography anytime soon, but trust me that this garment looks WAY better IRL than shown here :)

/Alexandra

Friday, May 2, 2014

Completed: Staple Dress x2, incl. tutorial for FBA on cap sleeves

This is my first two Staple Dresses (pattern from April Rhodes), but I am fairly certain I will sew this pattern again. It is simple and quick and the perfect canvas for any busy, crazy woven fabric!

Since my friend Malin has sewn this pattern many times, and I love her dresses, I thought I'd go wild and sew up my first dress without making a muslin. Did I mention I "forgot" to do an FBA? Well, I thought, for some reason, that the simple and generous fit would let me go unaltered, but I was punished. I'll show you soon what I'm on about...

But first I want to show the second one - the one that I truly LOVE! Sewn in a gorgeous, fun print from Liberty of London. The best cotton lawn makers in the whole world.

Relaxed, yet with a lot of shape, and pockets.

The back is nice and flat.

Enough shape, even without a belt, thanks to the shirring.

I added a little lace on the front neckline just to make it a little fancier. I am contemplating letting this dress be worn at a wedding.


And now to the other one, the one without FBA, which a think looks more awful every second I look at it.

Just look at this picture. Obviously, since the pattern is flat, the shirring will add the shape, and if you have boobs on the front, it will create the same amount of boob space on the back! Then it looks like this:
Handy design for people with boobs on both front and back.
And this is not the only problem! See the hemline! Since the boobs lift the fabric up and is not compensated with an FBA, the dress becomes too short in the front. Or to short in my own personal preference, that is. This can and MUST be avoided, people! And now I'll show you how!

FBA on a cap sleeved dress

(For other FBA alterations look at my tutorials here.)


1. Trace the pattern and mark apex and shoulder 

My first dress was a size S on the upper body and a size M on the lower, simply graded in between. The great thing about that is that the whole dress would fit onto 1y of fabric. Because of that Idesperately wanted to avoid my altered pattern to become any larger so that I still would fit it on the fabric :-) So I decided to start my upper FRONT pattern on size XS instead and keep the other parts the same as before.

Trace the pattern and then wear it to mark apex and shoulder line. I put it on my dress form like this:

Pin it to a dress form or to yourself :-)

Mark where the shoulder begins.

Mark the apex.

2. Do the FBA work

Since we have cap sleeves that are part of the front pattern piece we need to cut of the sleeves before the FBA can be done. Draw a line between the shoulder mark you made and the armpit. Then cut it off. Then:

a) Draw a line from the apex mark, parallel with the centre front line, all the way down.
b) Draw a line from the side seam to apex, in the angle you'd like the dart to be tilted.
c) Draw a line from the apex to the lower part of the sleeve.

All the cut lines in read.
 Cut and spread like this. Make sure to not cut all the way through in all places. Look carefully at the picture.

Cut off the sleeve completely


Cut and spread the desired amount.
The desired amount the spread the pattern for me here is to get it to the same width as the size S I used for the back. The alteration will then give me the boob room I need (and the right SHAPE), but still fit together with the rest of the pattern. I put the old sheet on top of it to see how much I need to spread it.


After this it is simply to put new paper into all the gaps and true up the dart legs.

Note!! This will create a dart, which is not part of the original dress design!
Since I use a busy fabric, plus will have shirring at the waist, I don't mind the dart. But if you do, then follow my other tutorial here.

Test wearing the pattern and see the magic you just created!


A lot more shape, and a lot more length in the front!! Yay!

And to really demonstrate that it is making a huge difference, have a look at this...

Without FBA on the top and with FBA on the bottom.

Now, go adjust this for yourself! 

/Alexandra

Friday, January 17, 2014

Completed: The Wardrobe Basic. Including tutorial for FBA on shoulder dart

The first garment of my spring SWAP is done; the "Wardrobe Basic" from Ottobre. Can I just say, what a quick, cute and usable pattern!! Or actually, not quick at all if you count more than 1,5 h of hand sewing to get invisible hems and facings. If you like topstitching it will indeed be very quick, but I love neat finishings and pretty insides of garments.

I think the pattern of the fabric turned out fun!

Inside trimmings. The bias tape has GOLD stripes!!!

Matching pattern on the sleeve too.

And the back. Nice fit, don't you think?

I LOVE pretty insides!

I love how it turned out. I did make some alterations, without making any muslin, but I just had a feeling it was going to turn out the way I wanted anyway. Luckily it did - phew! I am pretty certain I'm gonna use this pattern again. Imagine this as a summer jacket made from dark denim!! Want!

The fabric was a vintage scrap designed by Maud Fredin Fredholm. The pattern was quite intricate so it took me a while to decide how to put the pattern pieces so it wouldn't turn out too crazy. The leftovers will be enough for a couple beanies, an infinity scarf or some other accessory.

Sorry for not showing any live pictures, but I have a pajama-day with sick kids at home. Didn't feel like posing...


So, what alterations did I make?

#1 - FBA (Full bust adjustment)

I ALWAYS do an FBA these days. There is really no reason not to since it makes a world of difference to the fit. Don't be a lazy fart when it comes to FBA - it is always worth the effort, trust me!

This pattern already has a dart in the shoulder on the front, and I believe alterations like FBA should not have to change the design of the pattern. So, therefore, after having done the FBA you move the dart into the dart you already have on the shoulder. I thought I'd show you how it's done, but since I forgot to take pictures during the process and I don't have time to redo it, I'll give you a quick and dirty drawing tutorial instead :-)


Mark the regular FBA lines (blue) and slash the pattern. For more details on the basics go here. Spread the pattern your desired amount. Then it will look like this:


Tape in paper everywhere except in the new bust dart, which remains open. That is, within the blue dotted area:


Now, we don't want a bust dart because that alters the design of the garment, remember, so we need to move it! To do this we slash from the shoulder dart down to the point of the bust dart - but not all the way through! See red line:


Then we close the bust dart by pivoting the paper like shown by the arrow. Tape the dart closed and notice the shoulder dart wide opened. Continue drawing the shoulder dart legs until they meet (and make sure they are equal length) and there you have your new dart.


Tape in paper to fill the gap - voila! The green shape is the new pattern.


#2 - Reshaping the front panel

Since I knew I don't want to wear this cardigan closed I prefer the shape at the front to be more rounded. I simply shaved off a slice from the front pattern and did the same to the facing.


Hope this was helpful!

/Alexandra

Tuesday, November 26, 2013

Big butt adjustment (BBA) - another round of Thurlow pants! (kind of a tutorial I guess)

I made a pair of Thurlow pants a little while ago somewhat successfully. I blogged about them here. They are not bad. Since that blog post I have added one more belt loop at the back and added buttons to the welt pockets. That made the fit a lot better.

Pocket button.


I have since then used them a lot. Almost every day, actually. But I am only 95 % satisfied. The rest of the 5 % is gnawing away at my brains. Oh, the pain of gnawing at brains!! ;-D
I'll show you:

Issues to be resolved.

I still need some more booty room and the angle where the legs hit the butt is not quite right. The new belt loop and the buttons solved parts of the fabric droop, but still left things to be desired. This gal ain't happy until she's happy if ya know whatta mean!!

Time for round 2!

Since I had modified the pattern quite a bit before sewing last time I decided to compare my pattern with the original pattern sheet. And I was really surprised that I actually made pants SMALLER THAN SIZE 0!!!!!!! - except for the butt. I have never worn a size 0 in my life. That sizing chart is bent if you ask me.

Modified size 6 = smaller than size 0!


Anyhow.  I have now decided to start from scratch, from a size 0, and then do what I will call a Big Butt Adjustment (BBA). I know some call it Full Butt Adjustment (FBA). But I think it sounds kinda gross (constipated much, anyone?) plus it can be confused with Full Bust Adjustment (FBA).

I will do it pretty much like shown by Coletterie here.

Note! The BBA is done only on the back pattern piece!!

#1 - Tracing a size 0. 

Marking the seam lines to make the changes within the "finished garment" and not in the seam allowance area. In this pattern 1,5 cm seam allowance is included.

Dotted lines mark seams.

 #2 - Marking the cutting lines. 

This isn't an exact science. The green pivot circle should be places a good inch below the dart point though (roughly where you think your butt cheek apex is) and the vertical green line right through the dart. All other pivot points (circles) are placed on the seam lines. I'd suggest the angle of the turquoise line should be determined by how far down on your thighs you feel the need for extra fabric. The read line is for adding length to the crotch line.

The great thing about adding butt room this way is that you don't change your side seams at all. That means that all the pattern pieces will still go together like a dream. Cheers to that!

Marking all the cutting lines and pivot points.


 #3 - Slash 'n' spread! 

Cut along all the lines STOPPING at the pivot circles!

Now, to get the right amount of spreading I compared my old pattern piece with the original patterns and found that my butt requires roughly a size 6. The difference in width between 0 and 6 is about 2 cm (less than 1 inch) so that is the amount I am spreading.

If you don't have an old pattern piece like me, you can try to measure the pattern across where your butt is at its biggest, double the measurement (minus seam allowances). Let's say that adds up to 40 cm on the pattern in the size you've chosen. If you now measure your ass in the same place with a tape measure, you may get, say, 46 cm. That is 6 cm more than the size of the pattern. Which means you need to add about 3 cm in the BBA (since we're doing half a butt on the pattern).


Comparing with the old pattern piece.


#4 - Tape in paper and redraw lines
When you're happy with the alignment above, tape in paper and redraw lines.

Before I cut the paper, I measured the pocket marking to 13 cm. I make sure now when I redraw the pocket marking that it is still 13cm. If you look closely below, you can see the old pocket line penciled in. The dart is redrawn by just following the old dart legs until they meet again (blue lines, not the green). They should now meet the pocket line, just like they did before.


New dart and pocket line in blue.


#5 - Verify the crotch curve.

When I compare my old pattern (which I had altered a bunch of times) I see that I need to deepen the crotch curve a good deal, thus making it more L shaped. I am marking this on my new pattern and then cut. 

Old pattern, on top, has a deeper curve than the new pattern.

BUT. I wasn't entirely happy with how my butt pushed the fabric down, remember! I suspect I have a low hanging butt (nice, eh). To find out how my crotch curve REALLY looks I got a tip from a friend to roll up some tin foil and then form it against your body (along the crotch line). 

Placing my pattern pieces together (overlapping the seam allowance and then adding my foil roll shows the truth: Yes, I have indeed a low hanging butt. And this is even after I did the above adjustment... 
The pattern pieces shouldn't follow the foil roll exactly, but the shape should be the same. See the difference in the angle (black lines) and the size of the yellow arrows?

I draw a new line that better reflects my body. Purple curved line below:


Finished pattern piece!!!

The daddy.


Just for fun I will now compare the finished pattern with the old one:
In this pattern we see the biggest difference is actually the crotch line and the size of the dart. Everything else is kind of the same around the butt. Remember I said I thought they were just too tight? I figure since I now started on a size 0, and the old front pattern pieces were actually a good deal smaller than 0, i will gain the extra room around the body by not altering the front pieces. This should make the side seams better positioned than last time too.


The real difference is when I compare the whole pattern piece!! Look at the angle of the legs!!! You know when you pin out fabric here and there, weird things can happen. Hopefully this will now take care of some of the drooping fabric behind the legs too.


Anyway, it just goes to show that it is easier to take a smaller size that fits most parts of you okay, and then add extra room where you need it, than going for a larger size and then pin out all the excess. THAT should be famous words, my friends. Just compare FBA. Same thing there. Am I right?


Now I "just" need to sew them up, and that will take me a couple of days. I'll let you know how it went. I will also go against my better judgement and skip doing a muslin. I need pants NOW and whatever saves me time... (famous last words).

So long!
/Alexandra